Secure URL Customization
Before you automate the W9/W8 collection using the TaxBandits API, you can customize the secure URL (form completion page) with your own branding.
These customizations are applicable to RequestByEmail, RequestByUrl, and RequestByBusinessUrl endpoints. They will be reflected on the W9/W8 form page that payees (recipients) access via the email link (when using the RequestByEmail endpoint) or through the URLs generated by the RequestByUrl and RequestByBusinessUrl endpoints.
Customizable elements
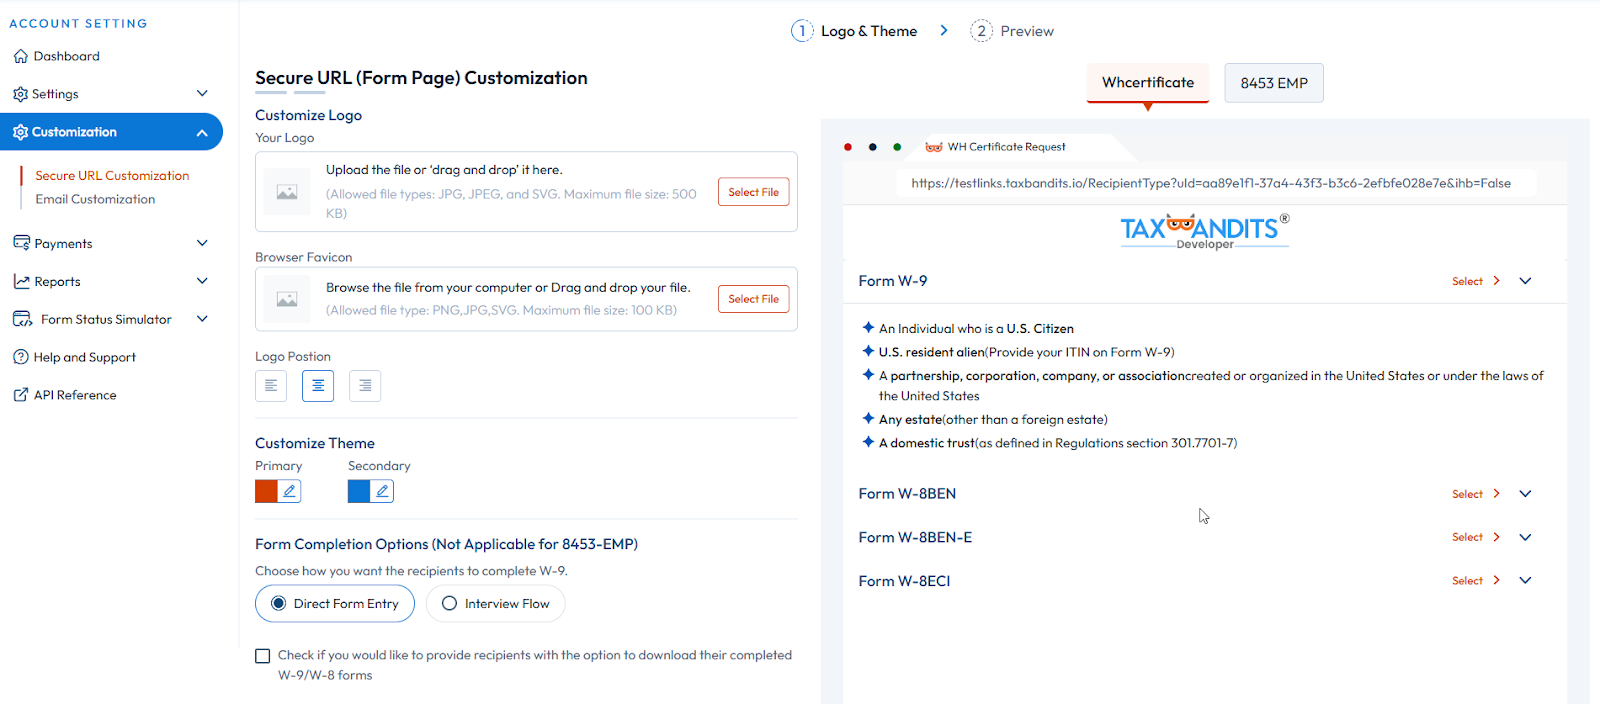
- Logo & Favicon - Set the logo and favicon as per your preferences
- Page Theme - Customize the primary color and the secondary color of the form page.
- Interview-Style - As an alternative to direct-form entry, provide your payees with an interview-style W9/W8 completion.
- ShowDownloadPage - Choose whether or not to provide your payees with the option to download their completed form.
- RedirectUrls (Applicable to RequestByEmail method) - Set the URLs to which you want the payees to be redirected once they complete/cancel the W-9/W-8 submission.
How to customize
You can customize the secure URL in two different ways:
1. Generate CustomizationId - You can generate a CustomizationId and include it in your API requests for both email and URL endpoints.
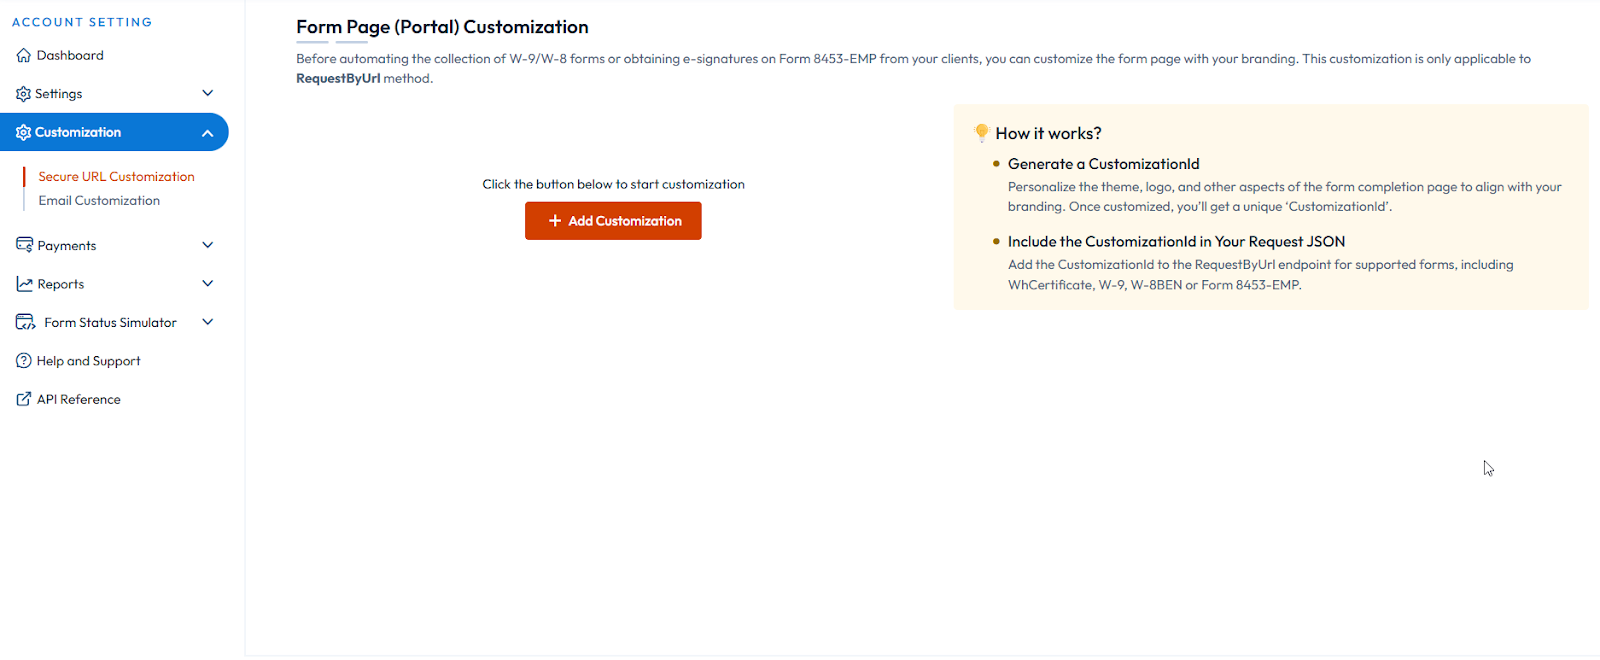
To generate this ID, you can either use the PortalCustomization endpoint or follow the steps below to generate it in the developer console.
- Log in to the developer console. Navigate to Portal Customization >> Select WhCertificate. Click 'Add Customization'.
- Complete the customization workflow to configure your logo, theme, and other visual elements.
- You’ll get a CustomizationId. Pass this ID in your W-9/W-8 API requests to implement the changes.
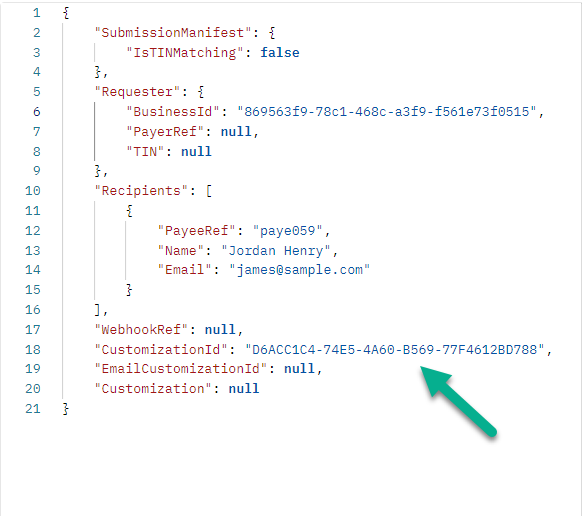
2. Include customization details in the API request - Alternatively, you can pass a Customization object directly in the API request for the corresponding request method to apply your preferred settings.
These customizations apply only to the form page. To customize the emails that your payees receive when using the RequestByEmail endpoint, you’ll need to customize the emails separately. See how